How to Install a Vinyl Fence
How to Install a Vinyl Fence: A Complete Step-by-Step Guide
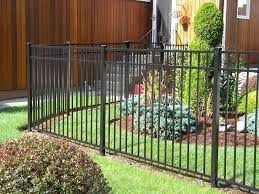
Homeowners looking to update their outdoor space often choose vinyl fencing for its durability, low-maintenance appeal, and clean modern look. If you’re planning a DIY project or simply want to understand the process before hiring professionals, this guide will walk you through everything you need to know. Whether you’re upgrading curb appeal, enhancing privacy, or replacing an aging fence, understanding the installation process helps you make confident decisions. For homeowners searching for vinyl fencing Raleigh options, reputable local companies like GT Fence NC offer both materials and professional installation you can trust.
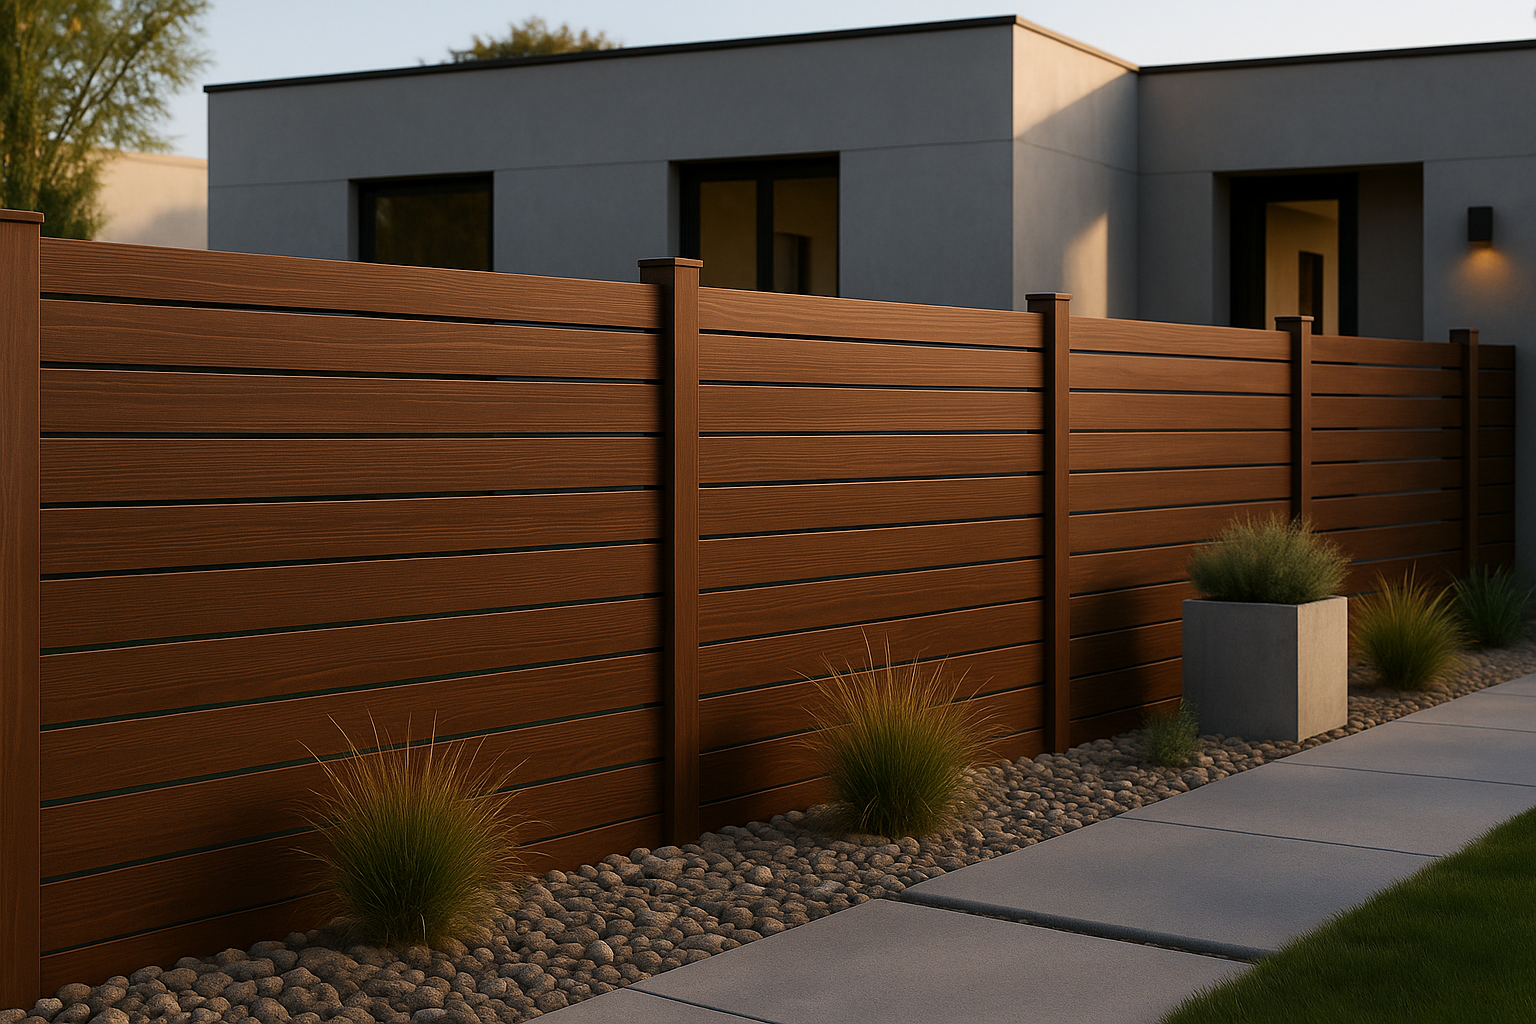
Vinyl fences are more popular than ever thanks to their longevity, weather resistance, and impressive style variety. And while professional installation is always recommended for the most seamless results, many motivated DIYers can install a vinyl fence themselves with the right tools, preparation, and guidance.
Why Choose Vinyl Fencing?
Before you begin installing, it’s worth understanding why vinyl fencing has become a go-to choice for so many homeowners:
1. Low Maintenance
Unlike wood, vinyl does not require staining, sealing, or sanding. Routine cleaning with soap and water is usually enough to keep it looking like new.
2. Durability & Weather Resistance
Vinyl fencing resists rotting, warping, insect damage, and moisture — all common issues with wood fences, especially in humid climates like the Southeast. This makes vinyl fencing Raleigh homeowners choose particularly long-lasting.
3. Style Variety
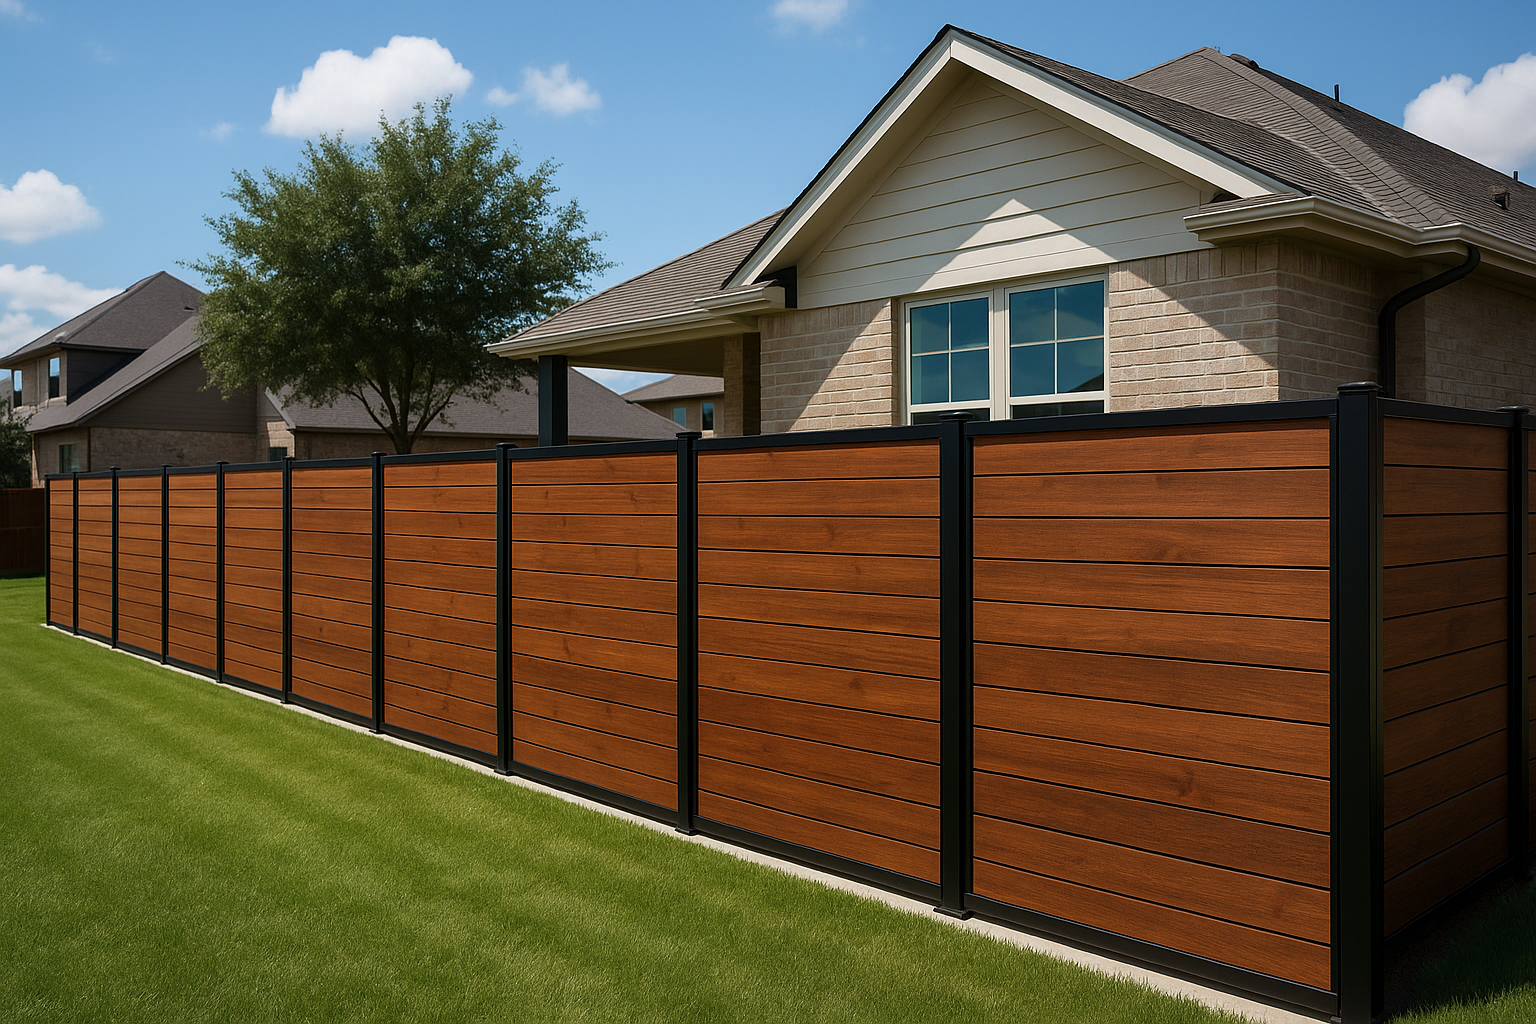
Vinyl fences come in privacy panels, picket styles, lattice tops, ranch-rail, and more — offering flexibility to complement almost any property.
4. Long-Term Cost Savings
Although vinyl may cost more upfront, it pays for itself with minimal maintenance needs and an extended lifespan.
Tools & Materials You’ll Need
Gather all materials ahead of time to streamline the installation process:
- Vinyl fence panels
- Vinyl posts (corner, line, and end posts)
- Concrete mix
- Gravel
- String line & stakes
- Tape measure
- Level
- Post-hole digger or auger
- Power drill
- Rubber mallet
- Shovel
If you’re partnering with a professional service such as those specializing in vinyl fencing Raleigh, they typically supply everything and manage the process from start to finish.
Step-by-Step Guide to Installing a Vinyl Fence
Step 1: Check Local Codes & Property Lines
Before digging, you must:
- Contact your local permitting office
- Review HOA rules (if applicable)
- Confirm property boundaries
- Call utility marking services
Failing to do this can result in costly mistakes or legal headaches. Professional installers always begin here, which is why many homeowners prefer hiring experts for vinyl fencing Raleigh compliance and code checks.
Step 2: Plan & Lay Out the Fence
Use stakes and a string line to mark the fence path. This ensures:
- Straight, even lines
- Correct post spacing
- Smooth transitions around corners
Measure twice — or even three times — before digging. Vinyl fencing requires precise spacing for panels to snap or slide into place.
Step 3: Dig Post Holes
Post holes should generally be:
- 8–10 inches wide
- 24–30 inches deep, depending on local frost lines and fence height
Add 6 inches of gravel to the bottom of each hole for drainage.
If the project feels overwhelming, local professionals who focus on vinyl fencing Raleigh installations can handle auger work, concrete mixing, and leveling with precision.
Step 4: Set the Posts in Concrete
Place each post into the hole and fill it with concrete. Make sure to:
- Keep the post level
- Align it with the string line
- Set corner and end posts first
Allow the posts to set for at least 24 hours before attaching any panels or rails.
Pro Tip: Use temporary bracing if needed to maintain perfect alignment as the concrete cures.
Step 5: Install Bottom Rails
Once posts are solid, attach the bottom rails:
- Slide or lock them into the post routed holes
- Ensure they sit evenly and level
Some vinyl fencing systems include metal reinforcement channels inside bottom rails to prevent sagging — especially for longer spans.
Step 6: Add Panels or Pickets
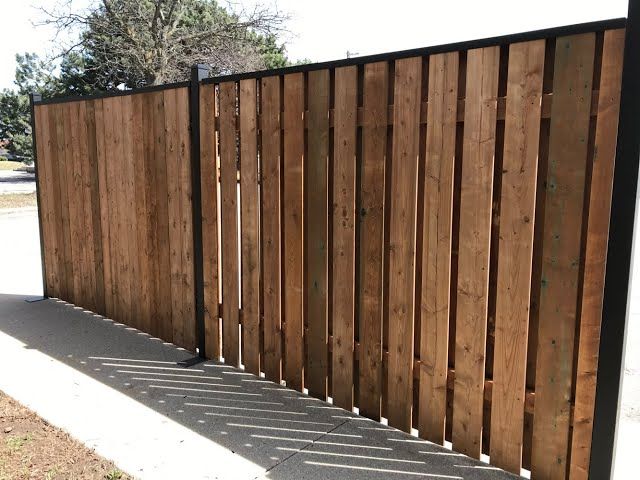
Depending on your vinyl fence style:
- Panel systems lock or slide into routed posts.
- Picket systems require inserting individual pickets into top and bottom rails.
Panel fences install more quickly, while picket fences allow more customization.
Ensure each section stays level and consistent with the previous one.
Step 7: Install Top Rails
Top rails complete the structure and stabilize the panels or pickets. Lock them firmly into place according to the manufacturer’s instructions.
Once installed, walk the line of the fence and check:
- Height consistency
- Panel rigidity
- Leveling
Small adjustments made now can prevent bigger issues later.
Step 8: Add Post Caps
Post caps are the final touch. They can be:
- Standard flat caps
- Decorative caps (Gothic, New England, solar-powered, etc.)
Secure them using adhesive or lock-on designs, depending on the product.
Final Checks & Maintenance Tips
Even though vinyl fencing is low-maintenance, a few habits will keep it looking brand new:
- Rinse the fence occasionally with a garden hose
- Use mild soap for tough dirt or algae spots
- Avoid leaning heavy objects against the fence
- Replace damaged panels quickly to maintain structural integrity
Homeowners planning long-term improvements often pair installation with professional services for vinyl fencing Raleigh, ensuring durability and perfect alignment.
Should You Hire a Professional?
DIY installation is absolutely possible, but it requires time, precision, and physical labor. Many homeowners choose professional installation to:
- Guarantee perfect post placement
- Ensure local code compliance
- Save time and effort
- Get long-term warranties
Local companies with experience in vinyl fencing Raleigh projects understand soil conditions, weather challenges, and common property layouts in the area — which significantly improves long-term fence performance.
Conclusion
Installing a vinyl fence is a highly rewarding project that enhances curb appeal, boosts privacy, and increases property value. With proper planning, accurate measurements, and patience, homeowners can complete the project themselves. However, if you want a flawless installation, guaranteed durability, and expert guidance, partnering with a reputable GT Fence company in your area is the best option.